Yesterday it snowed, then rained and then snowed again. The temperatures dipped down below -20 Celsius. Currently it is -21 C with a windchill of -30 C.
The first thing I usually do in the morning is eat a bowl of homemade granola and Greek yogurt and then JF and I head out to the forest reserve for a short hike or snow shoe. When we get back home I head out for a walk of about 45-60 minutes along the country roads and then settle into my yoga practise. Exercise is done by 10 or 10:30 and then I head into the studio.
On cold mornings such as this I tend to want to stay in bed under the heavy quilt which I did until 7:30. We missed our walk, but we did it on purpose. It’s far too cold this morning for outdoor exercise. I decided to start this blog, place a vitamin order online and check my email.
It’s nearly 10 a.m. and I still haven’t ventured outside. Maybe later.
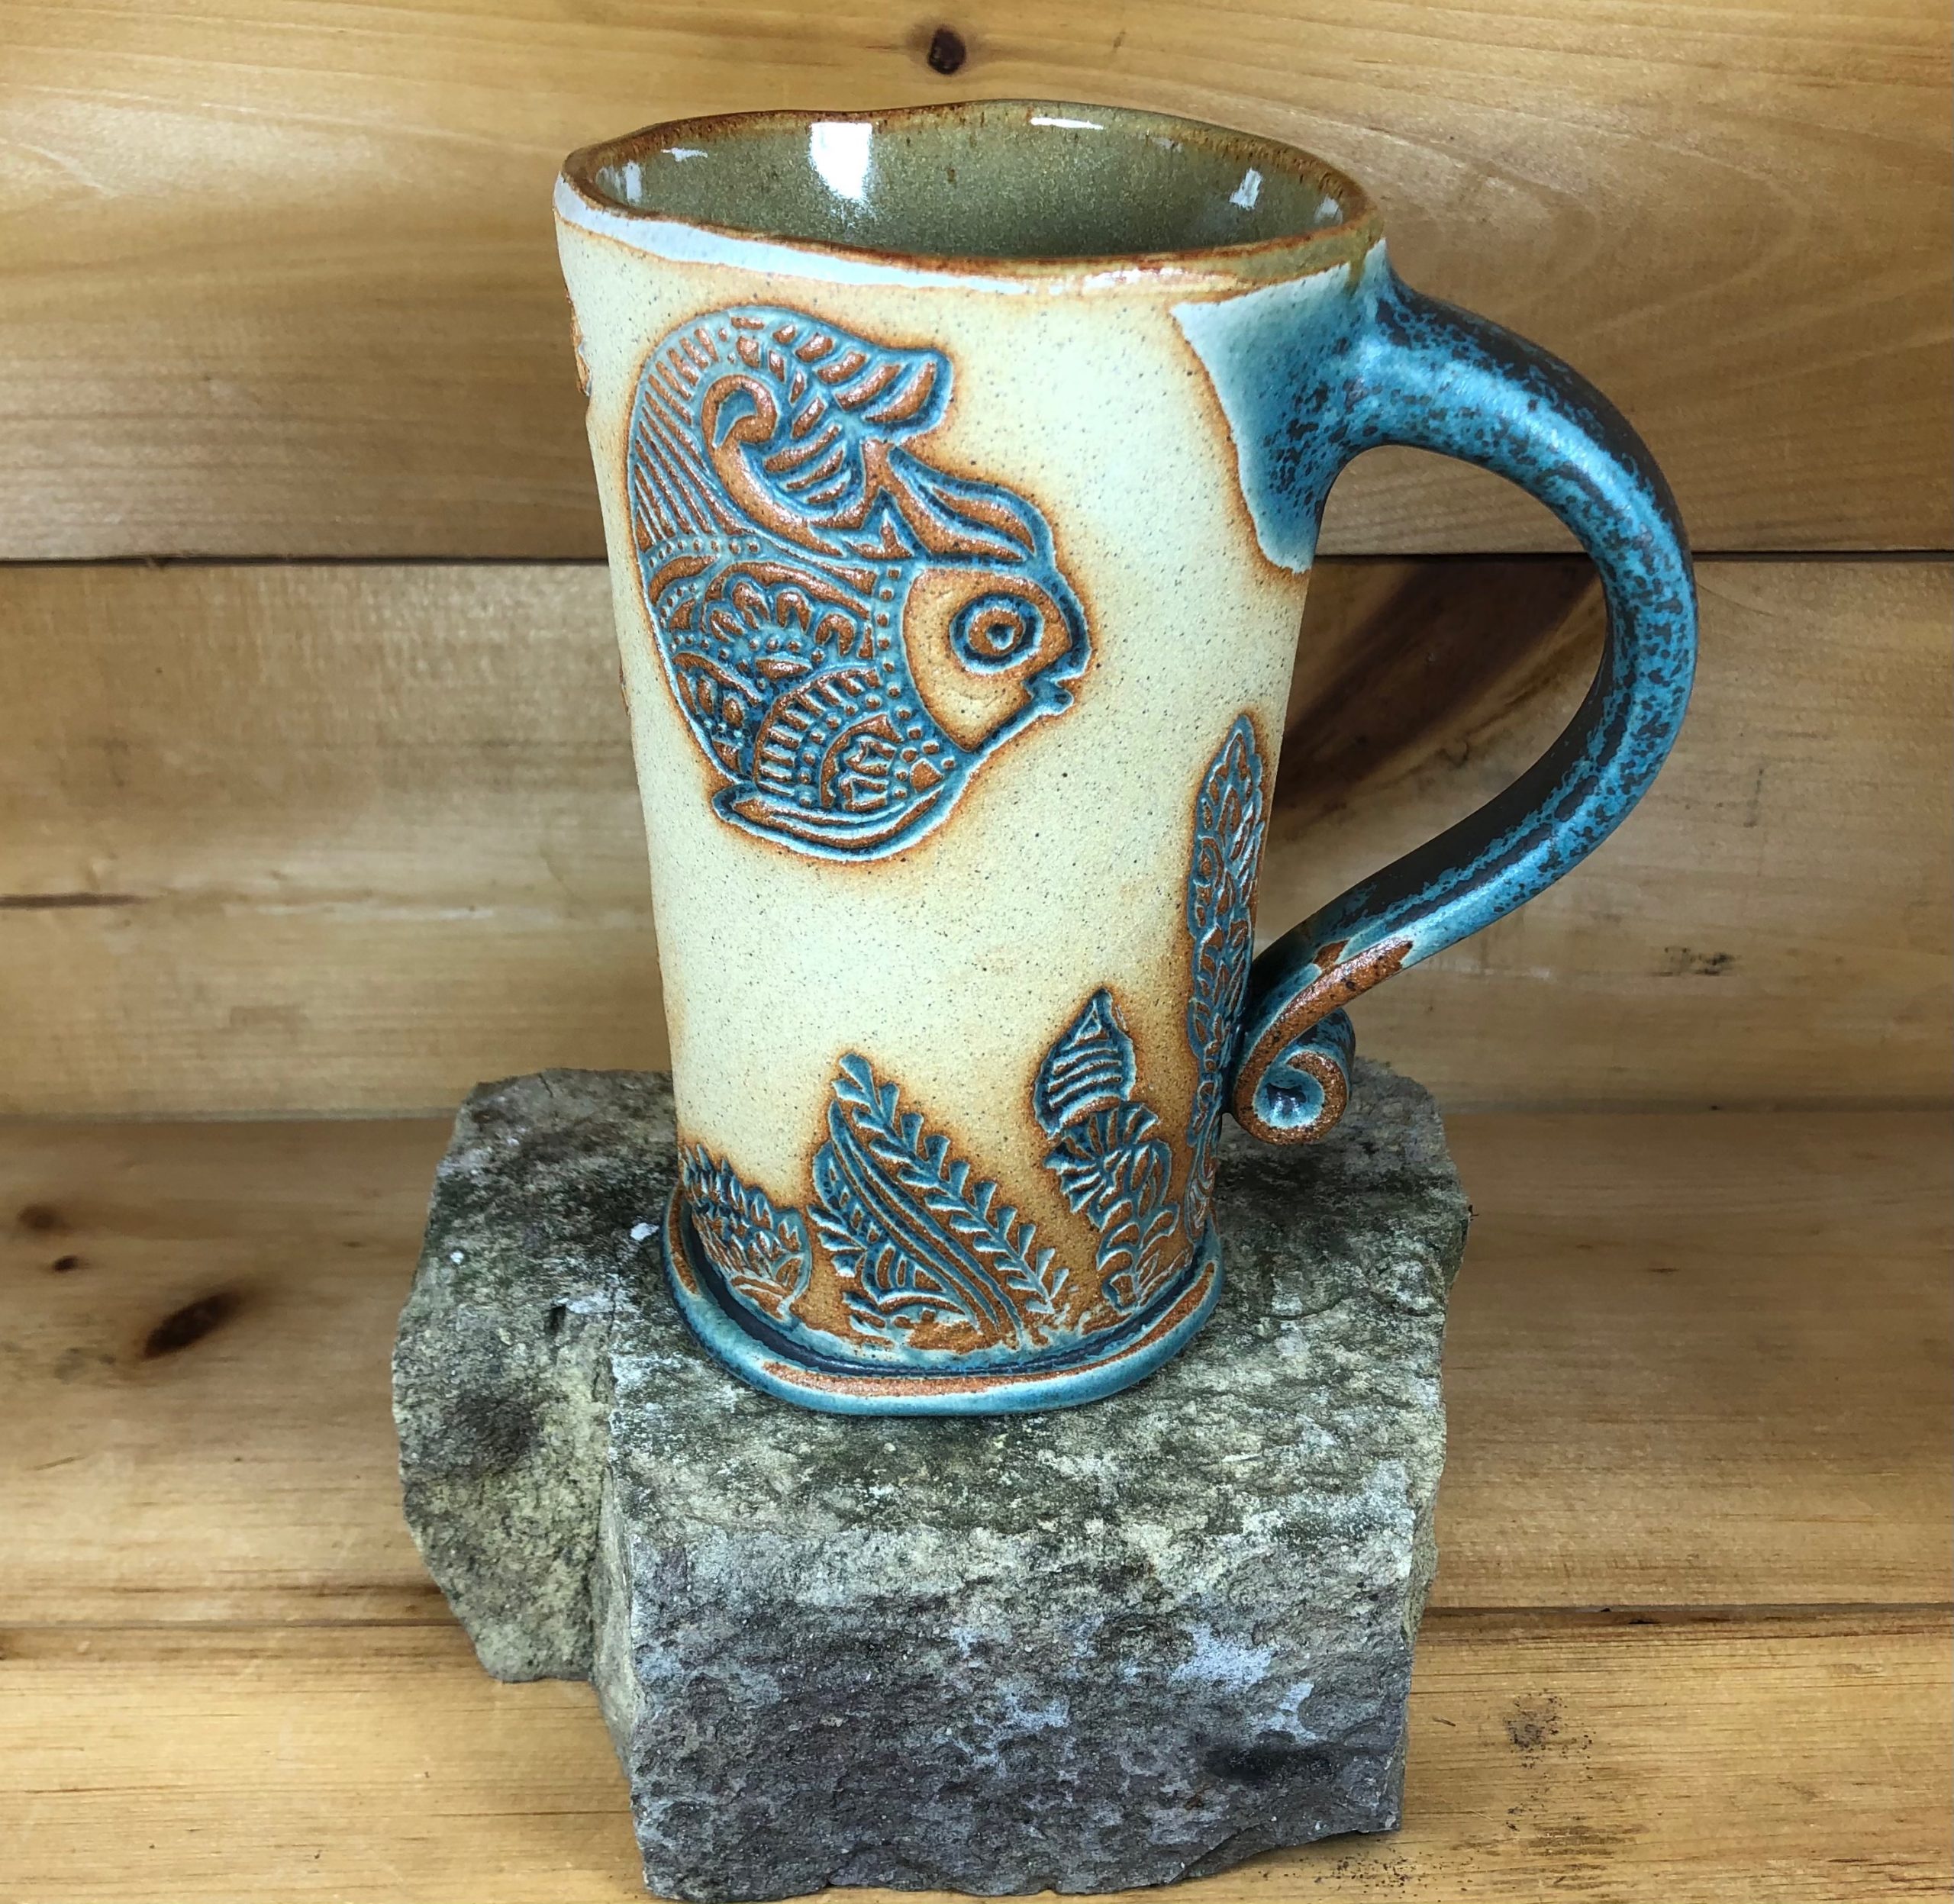
Yesterday, my last day of vacation (I take 2 weeks off from the Winter Solstice until the first Monday in January to rest and recharge) I decided to clean the house. I dusted, vacuumed, washed floors and dishes and then made a Mexican Feast for dinner. I found a recipe for “Batter Tortillas” in a Betty Crocker cookbook that I acquired in my 20’s and rediscovered in my 40’s when I spied a copy of the same cookbook at a friend’s place. It’s not, in any way, an authentic tortilla recipe, but I find it easy and I enjoy the taste. I don’t like 100% corn tortillas and I do not eat wheat, so buying tortillas is not for me. These batter tortillas are easy enough to prepare with 2 parts spelt flour and 1 part corn meal, but they do take time to cook because I can only cook one at a time. It’s completely worth it though. What we did not eat was placed in the freezer. I’m big on batch cooking and freezing. I love cooking, generally and yes, my cupboards are filled with pottery. Most of it my own. I enjoy the way food looks on pottery. It’s so rustic and homey.
I also prepared (from scratch) refried beans, guacamole, spiced ground turkey and caramelized onions and peppers. We topped the “burritos” with grated organic old cheddar, tomatoes and lettuce. BURP!! Yeah, it was really good and it’s what’s for lunch too. 😀
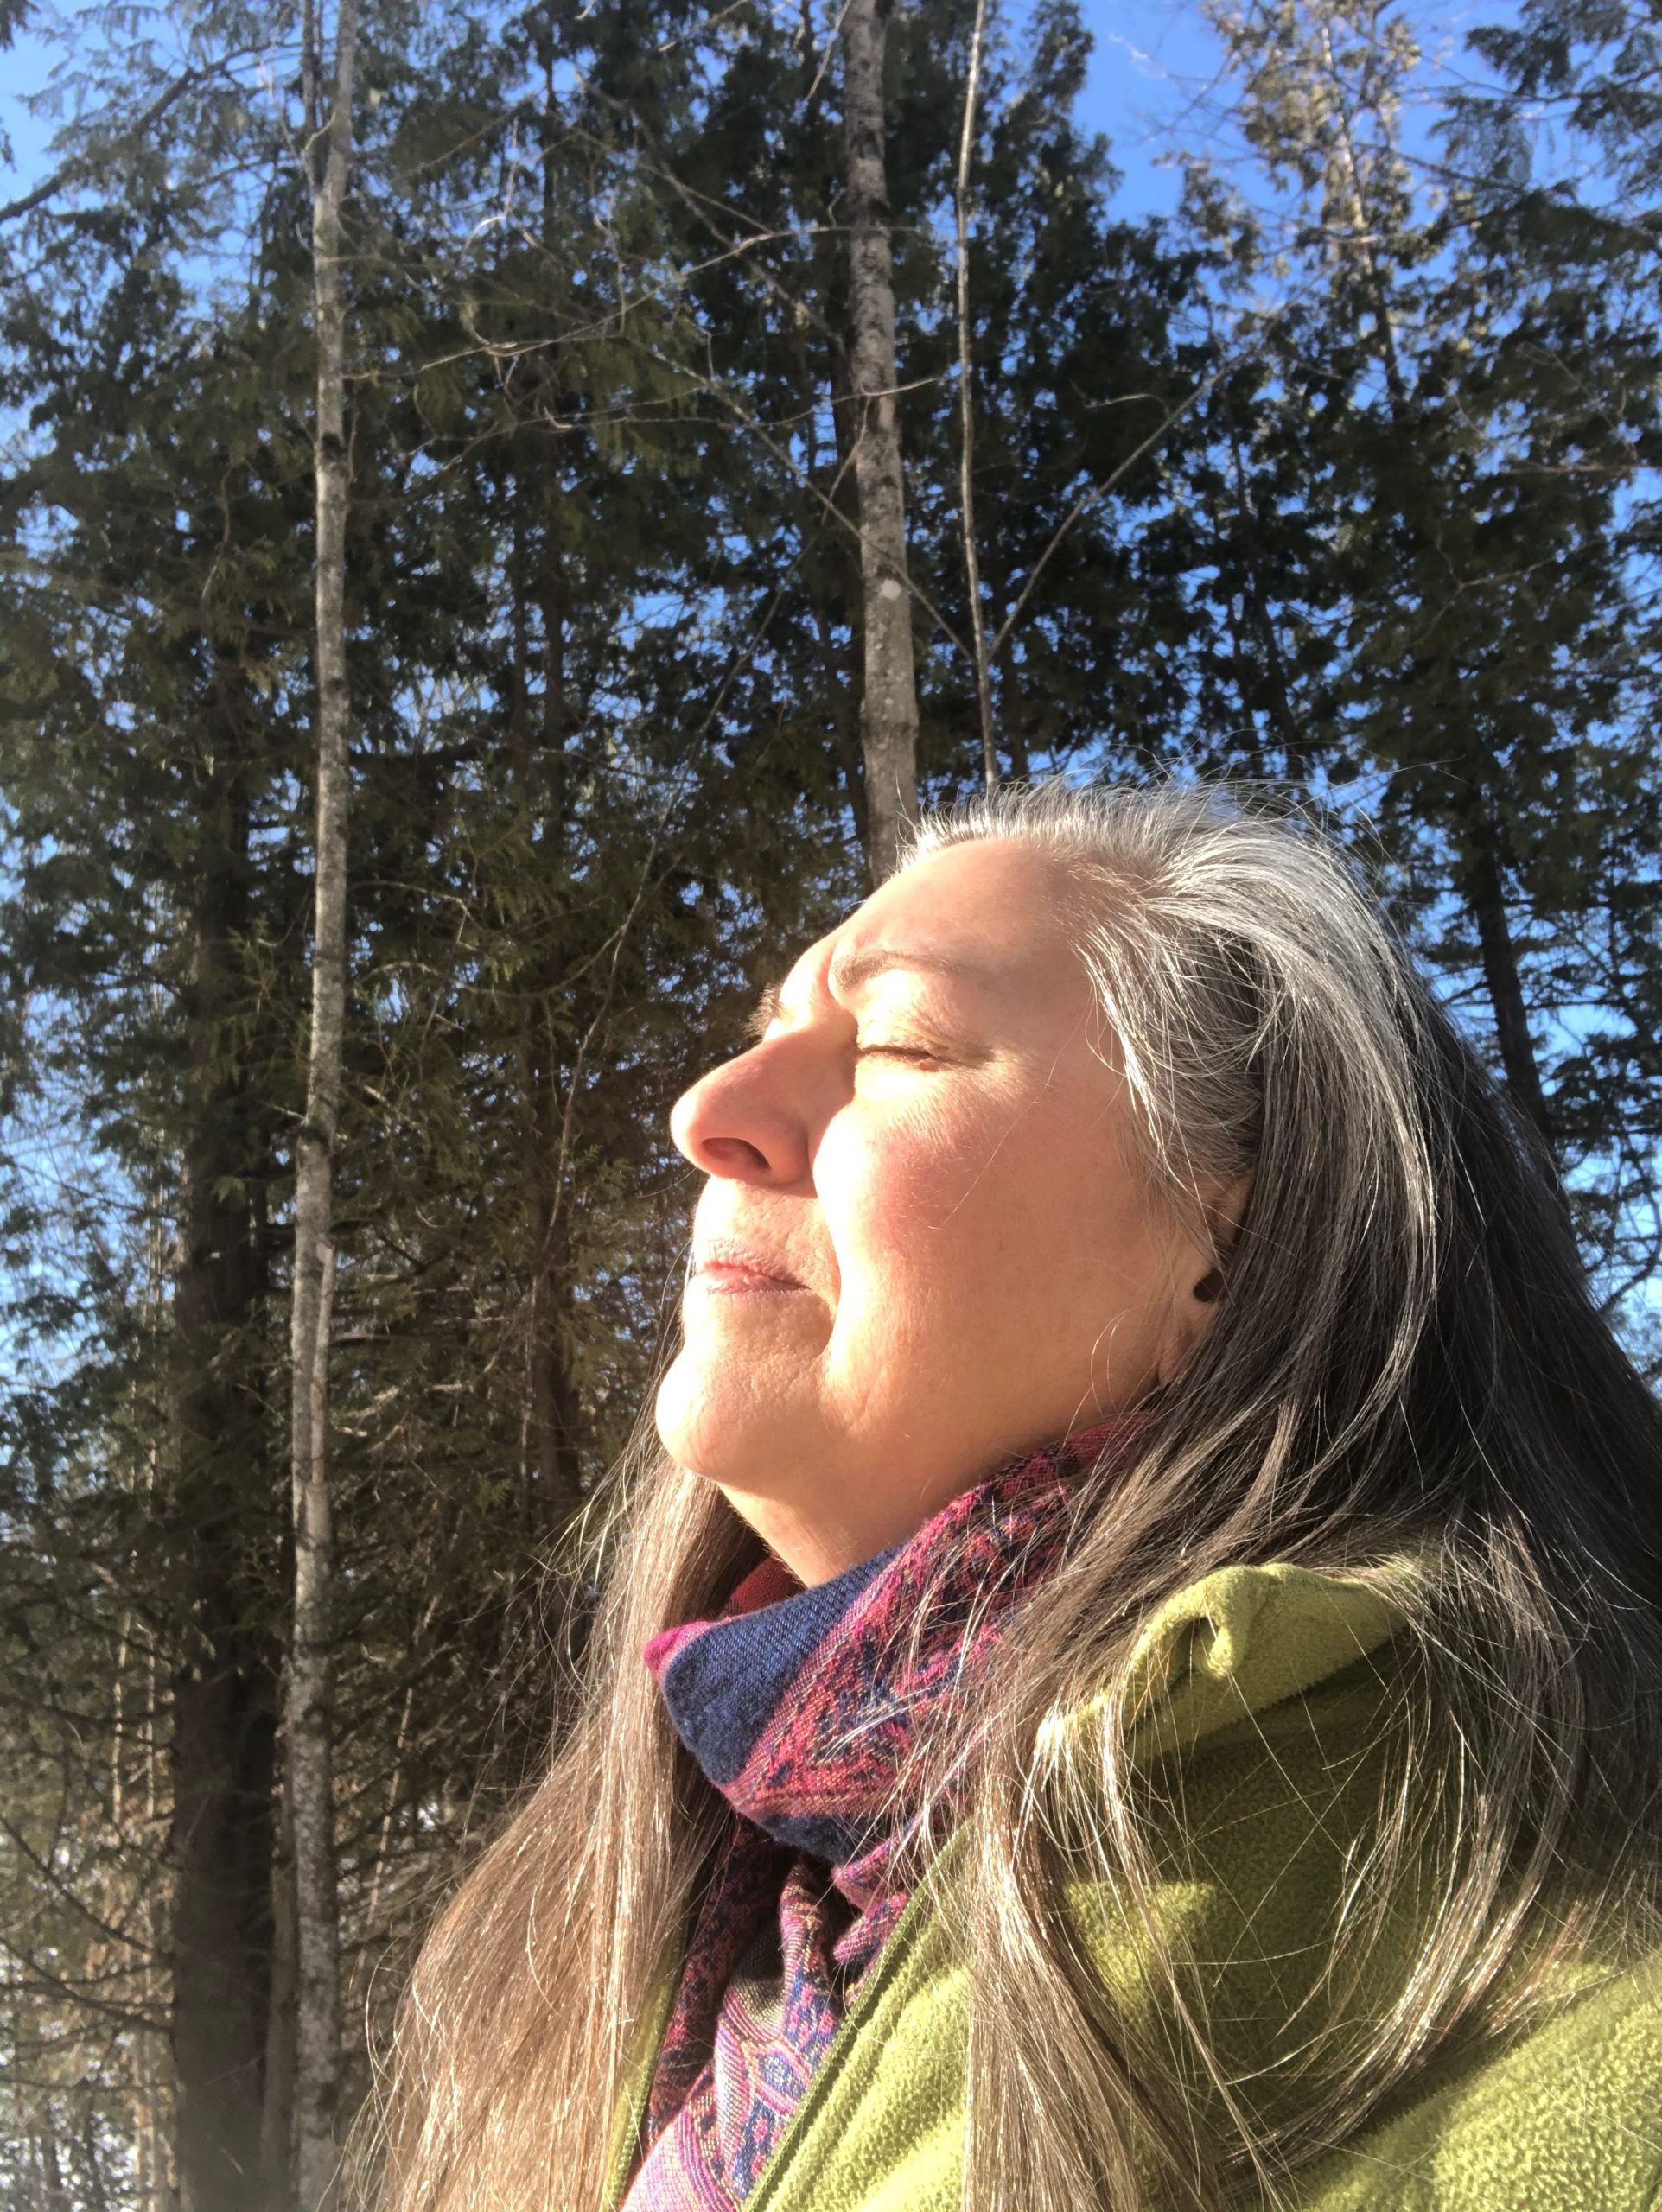
The sun is shining and I am very tempted to go out for some fresh air, even if I don’t get very far. The snow shoes are right by the door and the lake has not been trod upon yet this winter. JF saw a skater speed by a few days ago though!
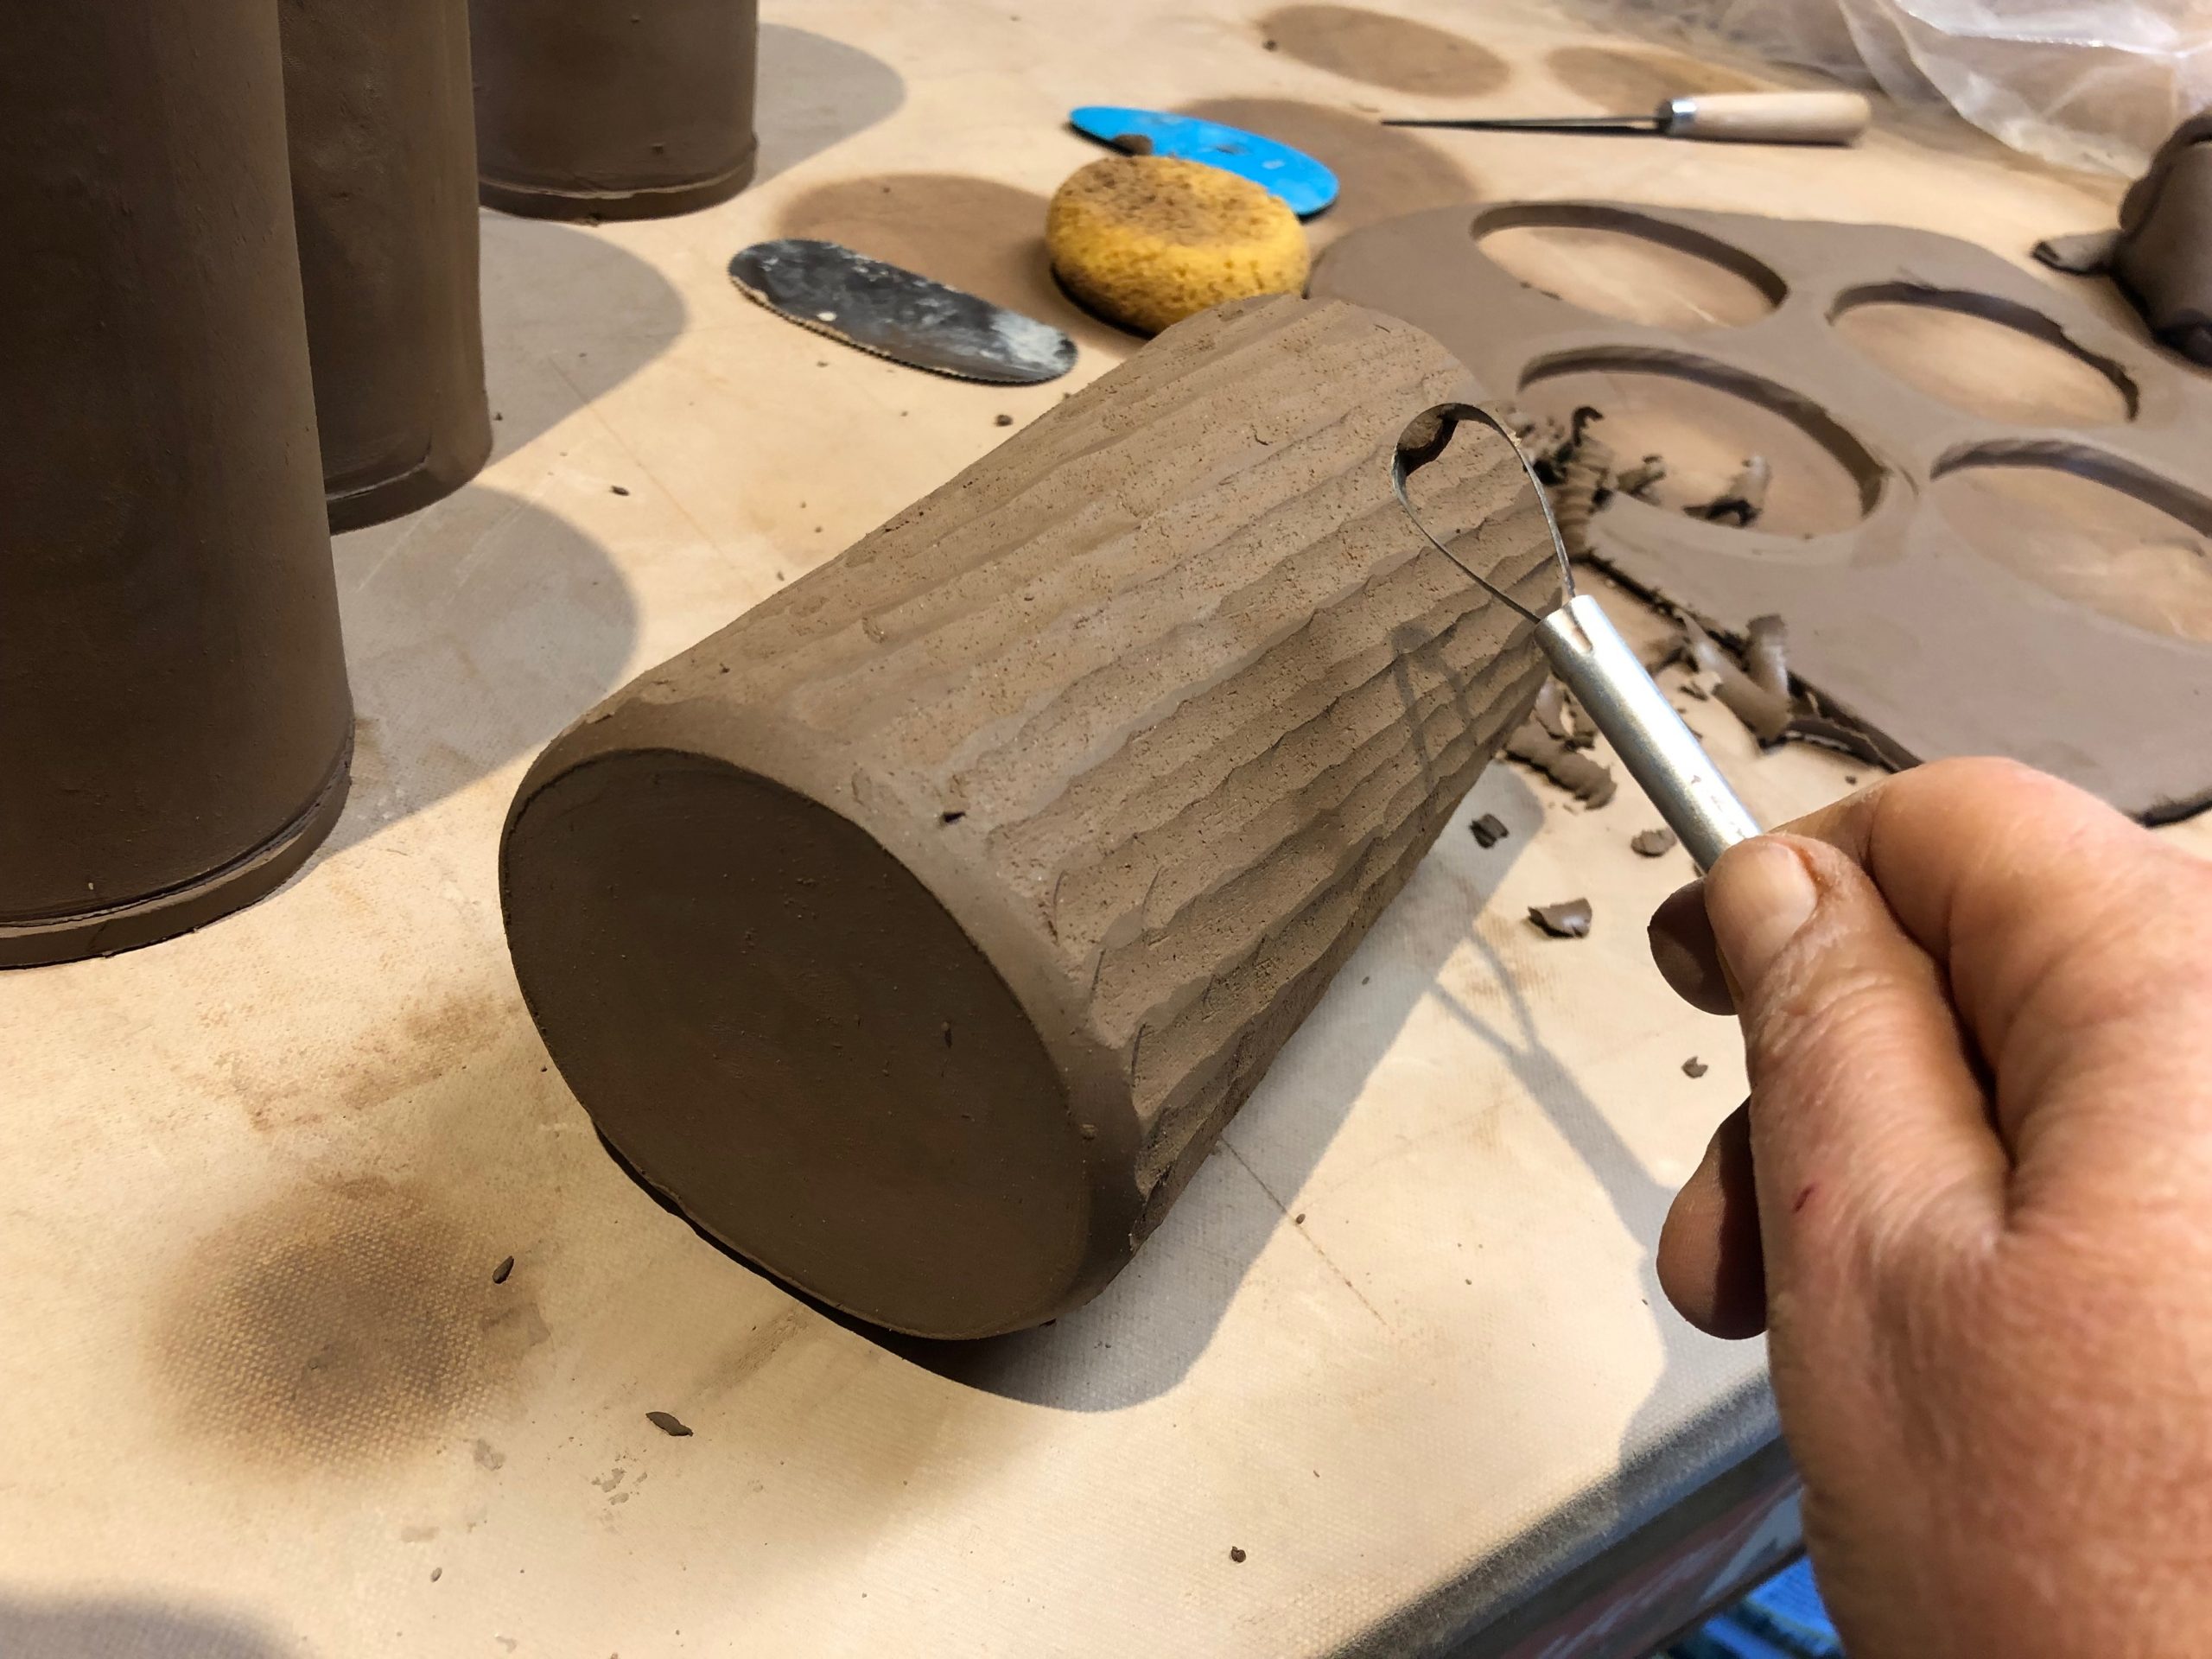
The studio feels fairly toasty and I have good light today, so I shall spend some time in there photographing new pots, cleaning up and I will also spend an hour or two on tax prep.
Later…
I lasted only 10 minutes outside with my glasses fogging up and my fingers getting so cold they started to hurt. I have crappy mittens. I wish for leather ones that cut the wind and that are fur lined. Wouldn’t that be something? I got my cardio workout done indoors followed by a great yoga practise.
I was in the studio photographing goblets and I decided to call my parents. My mom will be 80 in August and my dad is turning 82 in May. They still live in the home they bought as newlyweds in 1955. My mom has had the flu for a week now and I decided to call to see how she’s doing.
Mom is a type 2 diabetic and a couple of years ago she had a small stroke that didn’t do a lot of damage. She mixes up a few words here and there, but other than that she seems okay. My dad has sciatica that has him using a walker right now and so my mom had been taking care of both of them until she came down with the flu.
She was at the hospital last week – they went to emergency because I thought that my mom’s speech was a bit slurred when I was talking with her, so I called my brother and he got them to the hospital. It could have been another stroke, but it wasn’t. She was sent home with the diagnosis of influenza.
When I called dad answered and said the paramedics were there and they were waiting for an ambulance. What?! My guess is that because my dad is using his walker and mom is so sick, that it would have been impossible for him to take her to the hospital on his own. He must have been really worried about her to have called for an ambulance. I live in Quebec, my sister in BC and my brother in rural Manitoba. Our parents are in Winnipeg. Dad said he’d call later tonight when he knew more, but really there was nothing he could tell me. He seemed rather confused…or in shock. Poor dad. I really feel for him.
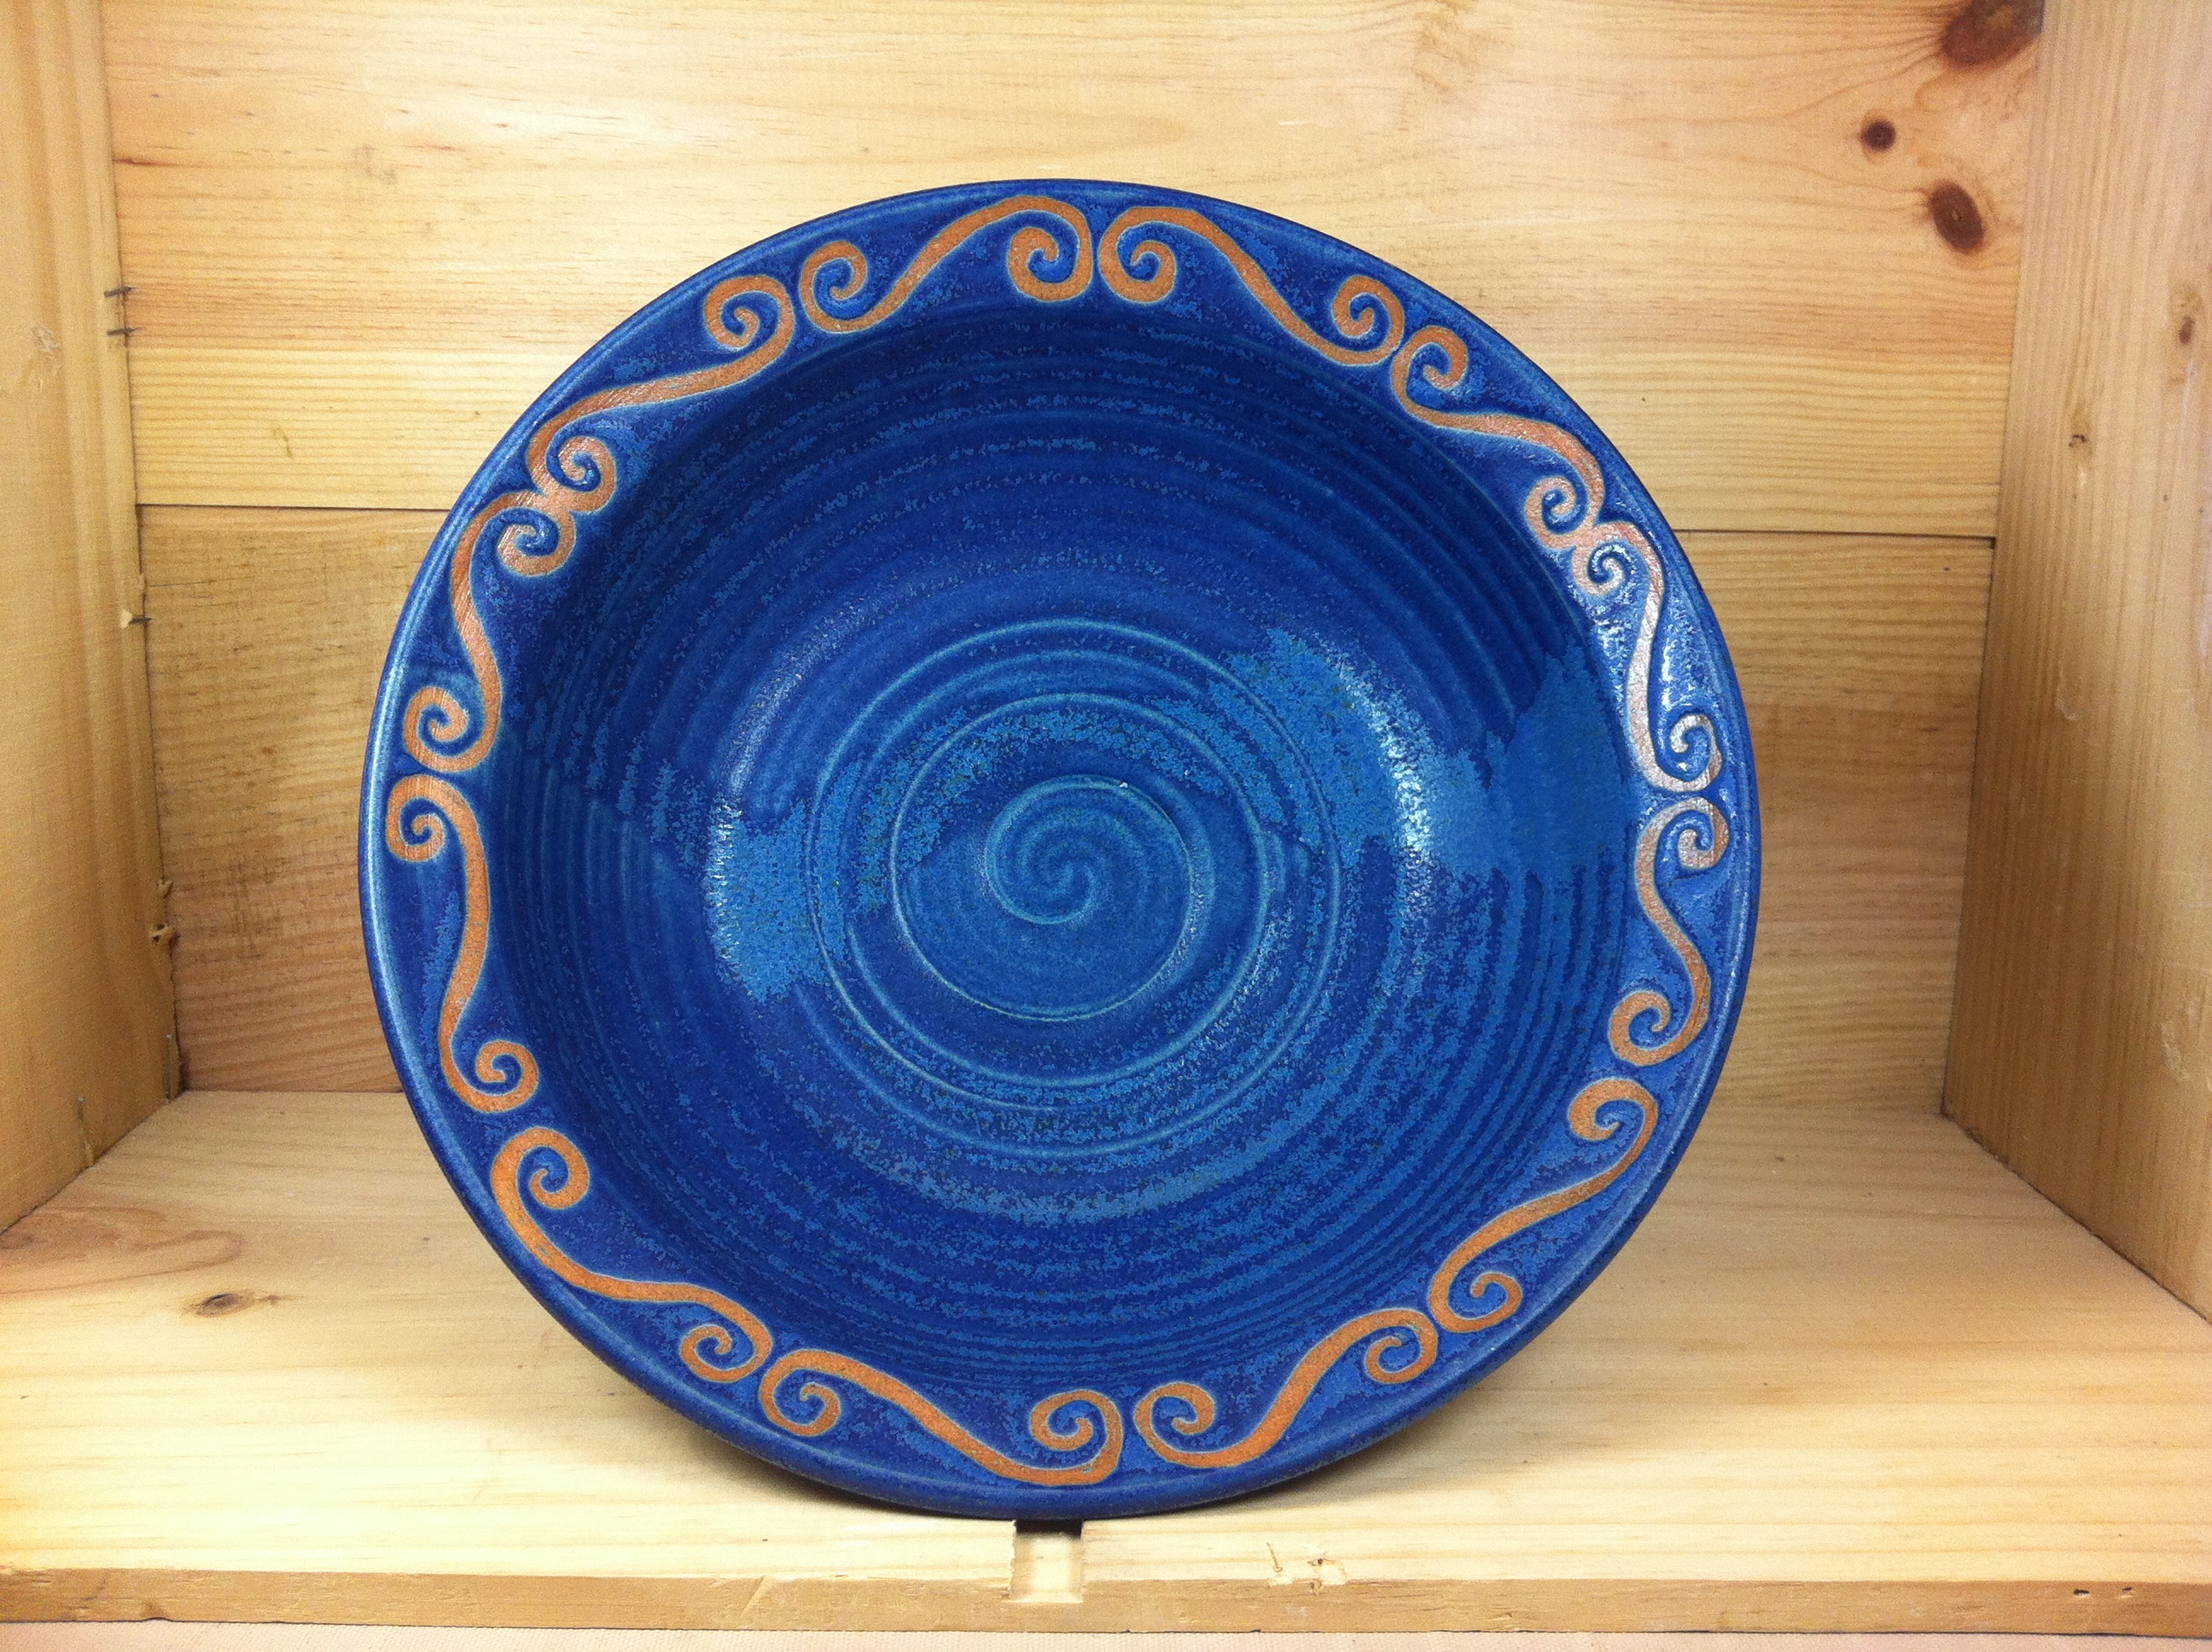
After that call I was feeling very distracted. I called my sister to let her know what was going on and took a few more photos of new blue spiral ware. Then there was a knock on the door. Wood was being delivered. I had forgotten. I helped the delivery guy by opening and closing the door as he loaded wood into the house. We buy recycled wood “logs” – basically hardwood sawdust that is compressed into a log. They burn more efficiently and are better for the environment. It’s a lot cleaner in the house too. One time we bought a load of wood that was pretty wet and covered in green mold. That was gross and then we found these recycled logs.
Back in the pottery I priced some pots that had been unloaded from the glaze kiln just before I took my winter break. I put the new pottery in the gallery and cleaned up a bit in the workshop and put the photographic lights away thinking the whole time about mom and sending her good energy.
Many texts and phone calls and email have been flying between siblings today. The tax prep will have to wait.
I got a call from my mom tonight. She is home from her visit to the hospital. After all the tests the doctor said that she has a strain of influenza that wasn’t covered by the general flu vaccine that she received. She sounds much better than when I spoke to her last week. As mom put it, it has been determined by the health professionals that she will indeed get through this.